
This month we have only one block to do but there were some tricky parts to it with ensuring templates are in the right place. So, in this month’s ramblings I’m going to cover echoes, success in making mistakes, serendipity and then some of the tools I’ve discovered that have helped me in hand piecing.
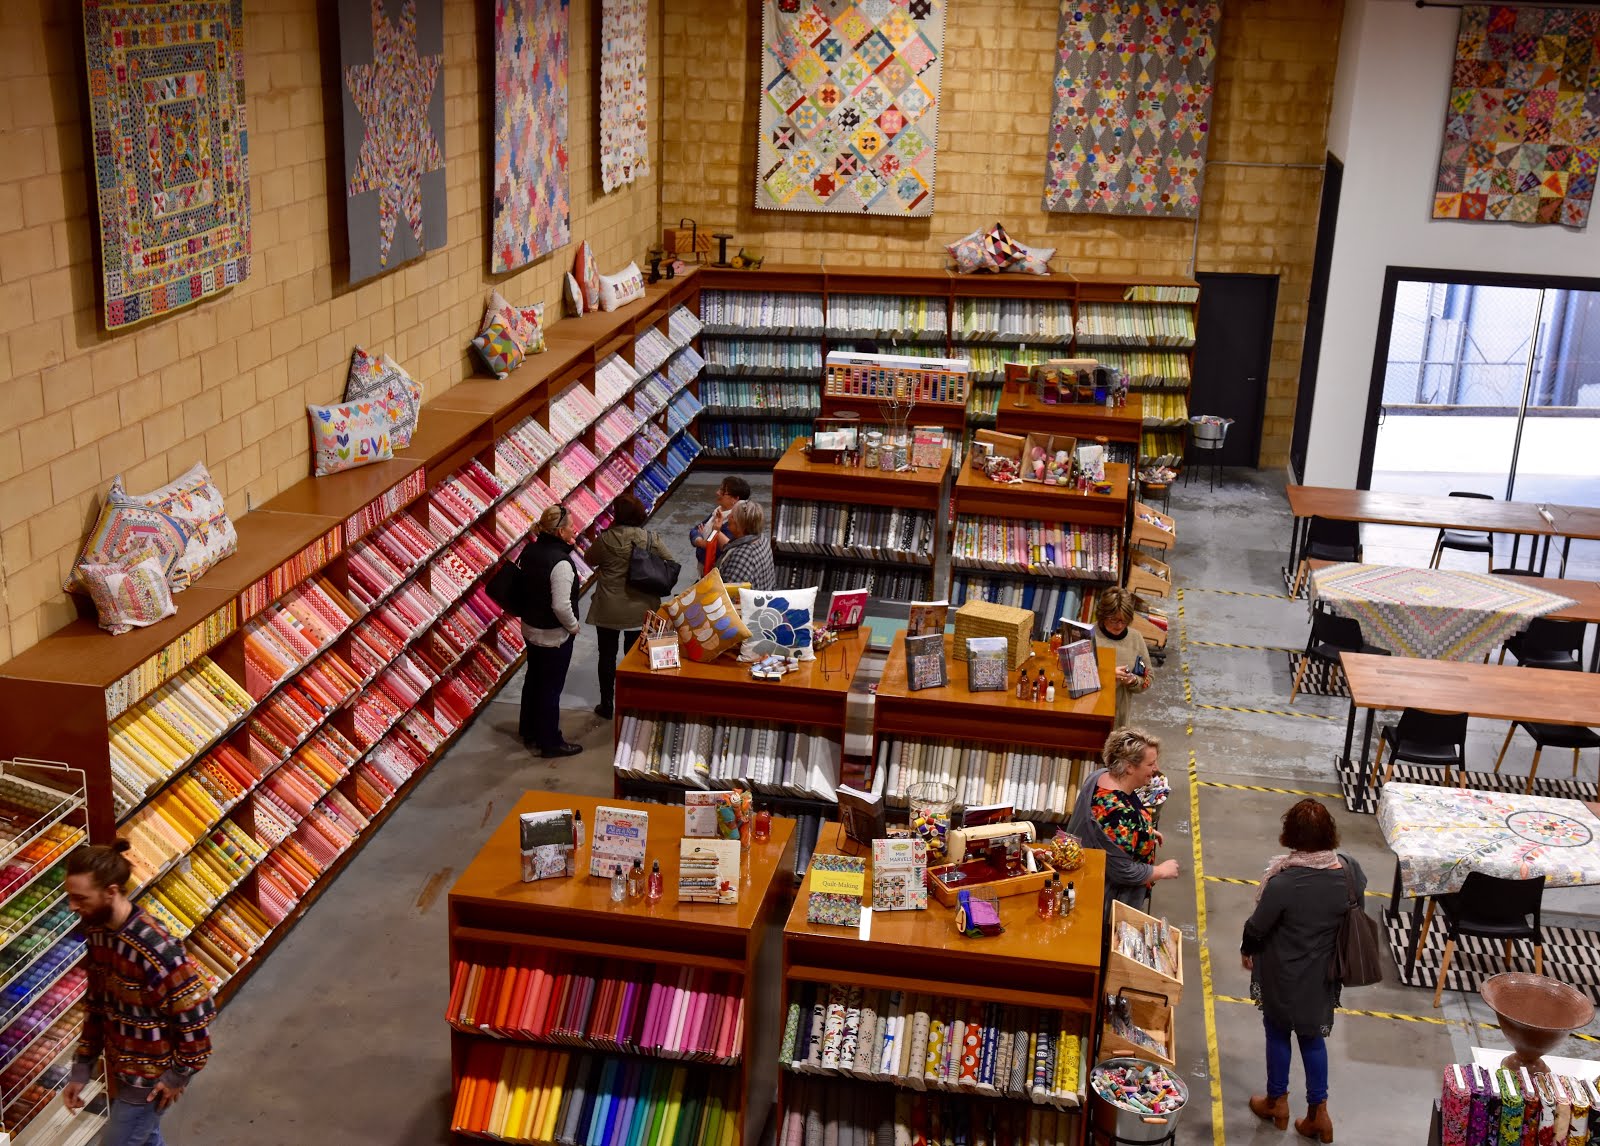
One of the benefits for this template plan is we have lots of pictures of the circle game on the web and Instagram as well, when I started the ‘Delilah’ TOM there were very few pictures out there of the completed quilt so it was a challenge to think how everything might look once all the blocks were completed.
In choosing fabrics from Jen’s wovens and a few splashes of shot cottons I was wanting to tie some elements of the quilt together. When you look at the pattern there are blocks that are possible companions. The block for this month has similarities to the nine-patch from last month and so I was wanting to echo the colours / fabrics from that block into this one.

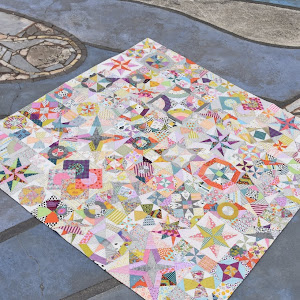
Here is the finished block, and this is where a mistake turned to success. I had fully intended that the striped anchor points for the curves would follow the same direction as the mid curves, that’s how I laid it out originally but not to be!

So, what happened? The striped fabric has no wrong side like most of the wovens, though some have a side which have larger floats on the back which may not work as well as the right side. I did not do what Jen says in the video for this block, I did not lay out the pieces after cutting otherwise it would have worked out how I had planned; that will teach me. However, serendipity was at play, I think I like this way better, I did manage to get the stripes to line up even if it does not look like it in the picture, promise.
One thing I am learning in my quilting journey is that mistakes are ok and often I am the only one who knows it is a mistake. As always quilting reflects life, sometimes what we think are mistakes turn out to be how maybe it should have been all along. No point fighting the Universe!
So together here are the two blocks. This month and the ‘companion’ from last month.


The main thing to be careful of on this quilt is making sure you have the right bits of the curves orientated properly, there is a subtle curve and this sits at the ends not in the middle of the curve, likewise with the pieces where the inner curve hits the outer.
One thing I love about hand piecing is the accuracy you can get with points/fussy cutting but also by stitching to the ‘dots’ the seams are free so when you come to press the seams will often chose to go one way or another. On the flip-side of the block, sounds better than back-side, you can see how it pressed, also how the wovens do fray slightly, this is not a huge issue, but something people said was a reason not to hand piece shot cotton or wovens. Well unless it frays a ¼” all is good.

As there is only one block this month I was asked on Instagram what tools do I use, well here is a picture of what I use. I am not sponsored by anyone, these are just what I have found work for me.

When I am hand piecing I use Aurifl thread at either 28 or 40 weight depending on what colours I have, though I try to go with 40 when there are bulky seams. I have tried other threads but always come back to Aurifil.
The needles I use are the Clover Black and Gold, quilting betweens. I use a size 12. They just work for me. I have tried others and settled on these. They do go through the fabric easily, they thread well and well they just work. I think needles are one of those things you just have to find your own fit.
I use the Karen Kay Buckley scissors since the serrated edge holds the fabric. Simple as that, I know there are others out there, but these were the first serrated ones I bought and until I need some more I don’t see the need to try others (trying different needles is a lot cheaper than scissors!)
I use propelling pencils, I have three colours – I tried the sewline three-in-one but didn’t get on with it and found the leads broke easier and it only holds one of each lead no spares. I have Bohin and Sewline – depends what was in the shop when I needed one. The leads seem compatible with either
Olfa cutters and Clover Wonder-Clips, no reason needed I think. I have slowly collected different sizes, the 18mm is great for the tighter curves. For a ruler, this one is one of Jen’s from Amitie, It is laser etched on one side, this is great, I find all my markings come off when I am marking up as the sandpaper slowly rubs off the printed measurements. Laser etched are deeper and stay.
There are two sandpaper boards here. Both I made myself. There are two rotating mats here, one Fiskars – my first one and its great until you are cutting and the squares are off set, hence the Sue Daley pink one. Why are so many quilting things pink? Small rant over.
Here’s a quick hack to turn your pink Sue Daley into a rotating marking mat too. (and lose the pink!)


I was trying to work out how to cut a circular board to use when in my local Spotlight I found a circular (and rectangular) blank, I think they are meant for place mats.
A trip to Bunnings and a couple of sheets of sandpaper and spray adhesive and we havea rotating marking mat. Sandpaper has grades, the higher the number the finer the grit. I have found through trial and error that P240 grade is the best, it grips the fabric, does not seem to mark it and the line you draw is smooth and not bumpy. When I used coarser paper the fabric puckered and the ruler was shredded too.
Now there is the long-standing debate on whether fabric scissors can be used on paper, anyone in my house knows sacrifice to the sewing gods occurs if my fabric scissors are used on paper but there is no debate when it comes to fabric scissors and cutting sandpaper. Make a circle with a compass or a draw round a plate or something of the right size on the reverse side and cut away.

I actually have put some tiny little rubber stoppers/pads, again from Bunnings on the underside to stop it slipping off the rotating cutting mat. I also have put them as feet on the rotating mat as mine skids, makes if more stable.
I am now using some red paper to make another mark-up board as I find when using some of the darker wovens I need some contrast against the dark colours.
But given the placemat blank was $3 and the sand paper $1 for $4 I can splash out for a second one.
********************************
Thanks to Gary for another amazing blog post!
Looking for Aurifil thread? You can view our huge selection HERE


No comments:
Post a Comment